How to Fix Ink Splotching on Your Flexo Printing Machine Output
You're running a long job on your flexo press. The first few hundred meters look great—solid coverage, clean edges, consistent color. Then you pull a sample and see it. Irregular dark patches scattered across the solid areas. Some spots look like an orange peel. Others look like ink pooling in random patterns. The customer won't accept it, and you can't figure out why it started.
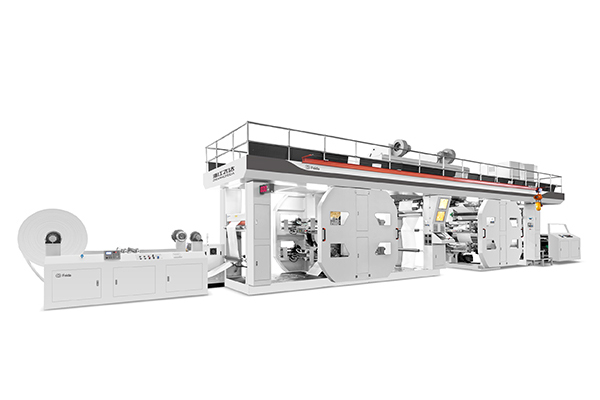
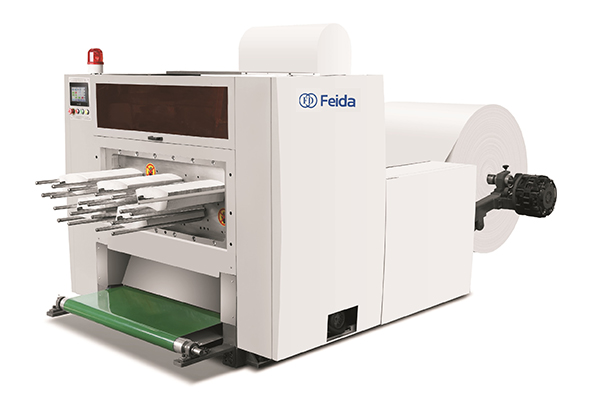
Ink splotching on a flexo printing machine is one of the most frustrating print defects to diagnose because it can look like multiple problems at once. But the root cause almost always falls into one of three categories: the anilox roll, the substrate, or the ink itself. The Feida CI flexo printing machine uses a central impression drum that clamps the material for stable positioning throughout the printing process, with speeds up to 200m/min and configurations from 1 to 10 colors. This guide walks you through a systematic approach to identify and fix ink splotching—starting with what to look for, then moving to corrective actions, and finally, how to prevent it from coming back.
The three suspects — anilox, substrate, and ink
Ink splotching doesn't have a single cause. You need to examine three components of the printing system.
The anilox roll — uneven ink loading
The anilox roll meters ink onto the printing plate. It has thousands of tiny cells that carry a precise volume of ink. When those cells are clogged with dried ink or damaged by scratches, the ink transfer becomes uneven. Some areas of the roll carry too much ink; others carry too little. The result is splotching—dark patches where ink pooled, and lighter areas where it didn't transfer properly.
If the anilox roll is not clean or kept in perfect condition, this will reduce the quantity of ink transferred, potentially causing one of the common flexo printing defects seen today.
The substrate — surface energy inconsistency
The substrate's surface energy determines how well ink spreads and adheres. Low or uneven surface energy causes ink to bead up instead of spreading uniformly. For good ink transfer and adhesion to occur, the surface energy of the ink should be lower than that of the substrate. When this balance is off, you get splotching—especially on non-porous substrates like films and foils, which have naturally low surface energy.
The ink — rheology failure
Ink that's too viscous or has poor thixotropy—the property that allows it to flow under shear and then thicken when at rest—can cause pigment settling in the ink chamber. Settled pigment creates inconsistent ink transfer: the first part of the run gets too much pigment, the next part gets too little. Splotching appears as random dark patches that don't repeat in a consistent pattern.
Visual diagnosis — what the pattern tells you
Before you change anything, look at the splotching pattern. The pattern tells you where to look first.
Splotches that repeat at the circumference of the print cylinder
If the splotches appear at regular intervals that match the circumference of the print cylinder, the problem is on the plate or sleeve. Look for:
-
Damaged or contaminated plate surface
-
Ink drying on the plate
-
Plate swelling from unsuitable solvents or cleaners
Fix: Clean the plate with an appropriate solvent. If the plate is damaged, replace it.
Random, non-repeating splotches
If the splotches appear randomly with no consistent pattern, the problem is likely the substrate or environmental static. Inconsistent ink absorption by the substrate can cause print mottle. Low absorption makes print density decrease, while uneven absorption causes print mottle.
Static electricity attracts dust to the substrate surface, which prevents ink from adhering uniformly. Install static elimination equipment on the press.
Splotches that appear only at the edges
If splotching is concentrated at the edges of the printed area, the problem is uneven pressure. Check:
-
Plate cylinder pressure (may be too high or too low)
-
Plate mounting (may be uneven)
-
Substrate tension (may be inconsistent)
Below is a quick reference table for visual diagnosis:
| Splotch Pattern | Most Likely Cause | First Check |
|---|---|---|
| Repeats at print cylinder circumference | Plate or sleeve issue | Inspect plate surface; check for damage or contamination |
| Random, non‑repeating | Substrate or static | Check substrate surface energy; install static eliminator |
| Only at edges | Uneven pressure | Check plate cylinder pressure and mounting |
| Orange peel texture | Anilox cell volume too high | Verify anilox specification for the job |
| Donut‑shaped spots | Ink surface tension too high | Adjust ink formulation |
Corrective actions based on diagnosis
Once you've identified the likely cause, take action.
For anilox issues — clean or replace
Start with a deep clean of the anilox roll. If the roll is clogged with dried ink, a standard wash may not be enough. Use a dedicated anilox cleaner or ultrasonic cleaning. If the roll is scratched or the cells are worn, replace it with a spare.
Also check the doctor blade. If it's worn, it won't meter ink consistently. Replace the doctor blade if indicated. Ink flooding the plate dots due to loose ink metering or a worn doctor blade is a common cause of uneven ink transfer.
For substrate issues — treat the surface
If the substrate has low surface energy, enable in-line corona treatment. Corona treatment raises the surface energy of non-porous substrates, improving ink wetting and adhesion. If corona treatment isn't available, wipe the substrate surface with isopropyl alcohol to remove contaminants.
For paper substrates, inconsistent absorption can cause print mottle. Consider switching to a substrate with more uniform absorption properties.
For ink issues — adjust viscosity and formulation
Check ink viscosity. Ink that's too viscous won't transfer properly. Ink that's too thin will pool and create splotches. Adjust viscosity to the manufacturer's recommended range. For water-based inks, also check pH.
If viscosity is correct but splotching persists, consider adding a leveling agent or adjusting the solvent balance. For some inks, the surface energy of the substrate has a significant effect on ink transfer and print density.

Questions press operators ask about ink splotching
Q: Can humidity cause ink splotching?
A: Yes—and it's more common than you think. High humidity slows ink drying, which can cause ink to spread unevenly on the substrate. Low humidity increases static electricity, which attracts dust to the substrate surface. Both conditions can cause splotching. Maintain consistent temperature and humidity in your print room—typically 20–22°C and 45–55% relative humidity.
Q: Does printing speed affect splotching?
A: Yes. Press speeds that are too high can lead to ink spitting, where ink splashes off the anilox roll onto the substrate. Slowing down the press speed can be a simple but effective step to minimize this problem. If splotching appears only at high speeds, try reducing speed by 10–20% and see if the problem resolves.
Q: Is it the plate or the ink — how do I tell quickly?
A: Run a short test with a fresh batch of ink on a clean plate. If the splotching disappears, the problem was the ink. If the splotching remains, the problem is the plate or the press setup. This simple test isolates the variable in five minutes.
Preventing recurrence — build a record
The best way to prevent ink splotching is to track what happened when it occurred.
Create a standard operating record for each job that includes:
-
Substrate type and batch number
-
Ink batch number and formulation
-
Anilox roll specification (line count and volume)
-
Press speed and temperature settings
-
Any adjustments made during the run
When splotching occurs, note the pattern and the corrective action that worked. Over time, this record becomes your custom troubleshooting guide. You'll know which substrate batches are prone to splotching, which ink formulations need viscosity adjustment, and which anilox rolls are nearing the end of their life.
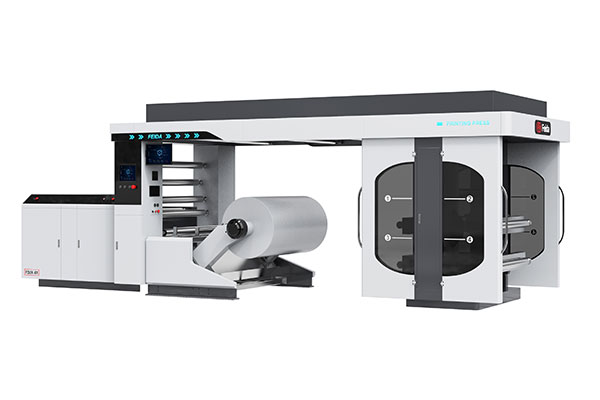
How Feida's CI flexo printing machine supports consistent quality
Feida Machinery's CI flexo printing machine is engineered for stable, high-quality printing. The central impression (CI) design clamps the material around a central printing cylinder, ensuring very stable positioning throughout the entire printing process. Multiple printing units position on the material rotating on the central cylinder, achieving very high precision and repeatability.
The machine can perform single- and double-sided printing, offset printing, and gravure printing simultaneously. It supports a variety of printing materials including plastic films, paper, aluminum foil, and more. Printing color sets range from 1 to 10 colors to meet different needs.
The advanced automation and control functions—such as automatic positioning, automatic color mixing, and quick setting and switching of computer programs—provide printers who produce high volumes of flexible packaging materials with a more efficient and precise printing process. The machine speed can reach 200m/min, realizing high-speed production.
Before you start your next run, take five minutes to verify your anilox roll is clean, your substrate surface energy is adequate, and your ink viscosity is within specification. A few minutes of preventive checking saves hours of troubleshooting.
Struggling with ink splotching on your flexo printing line? Contact Feida Machinery for technical support or product information. Share your machine model, substrate type, ink type, and the pattern of splotching—their team can help identify the root cause and recommend corrective actions.